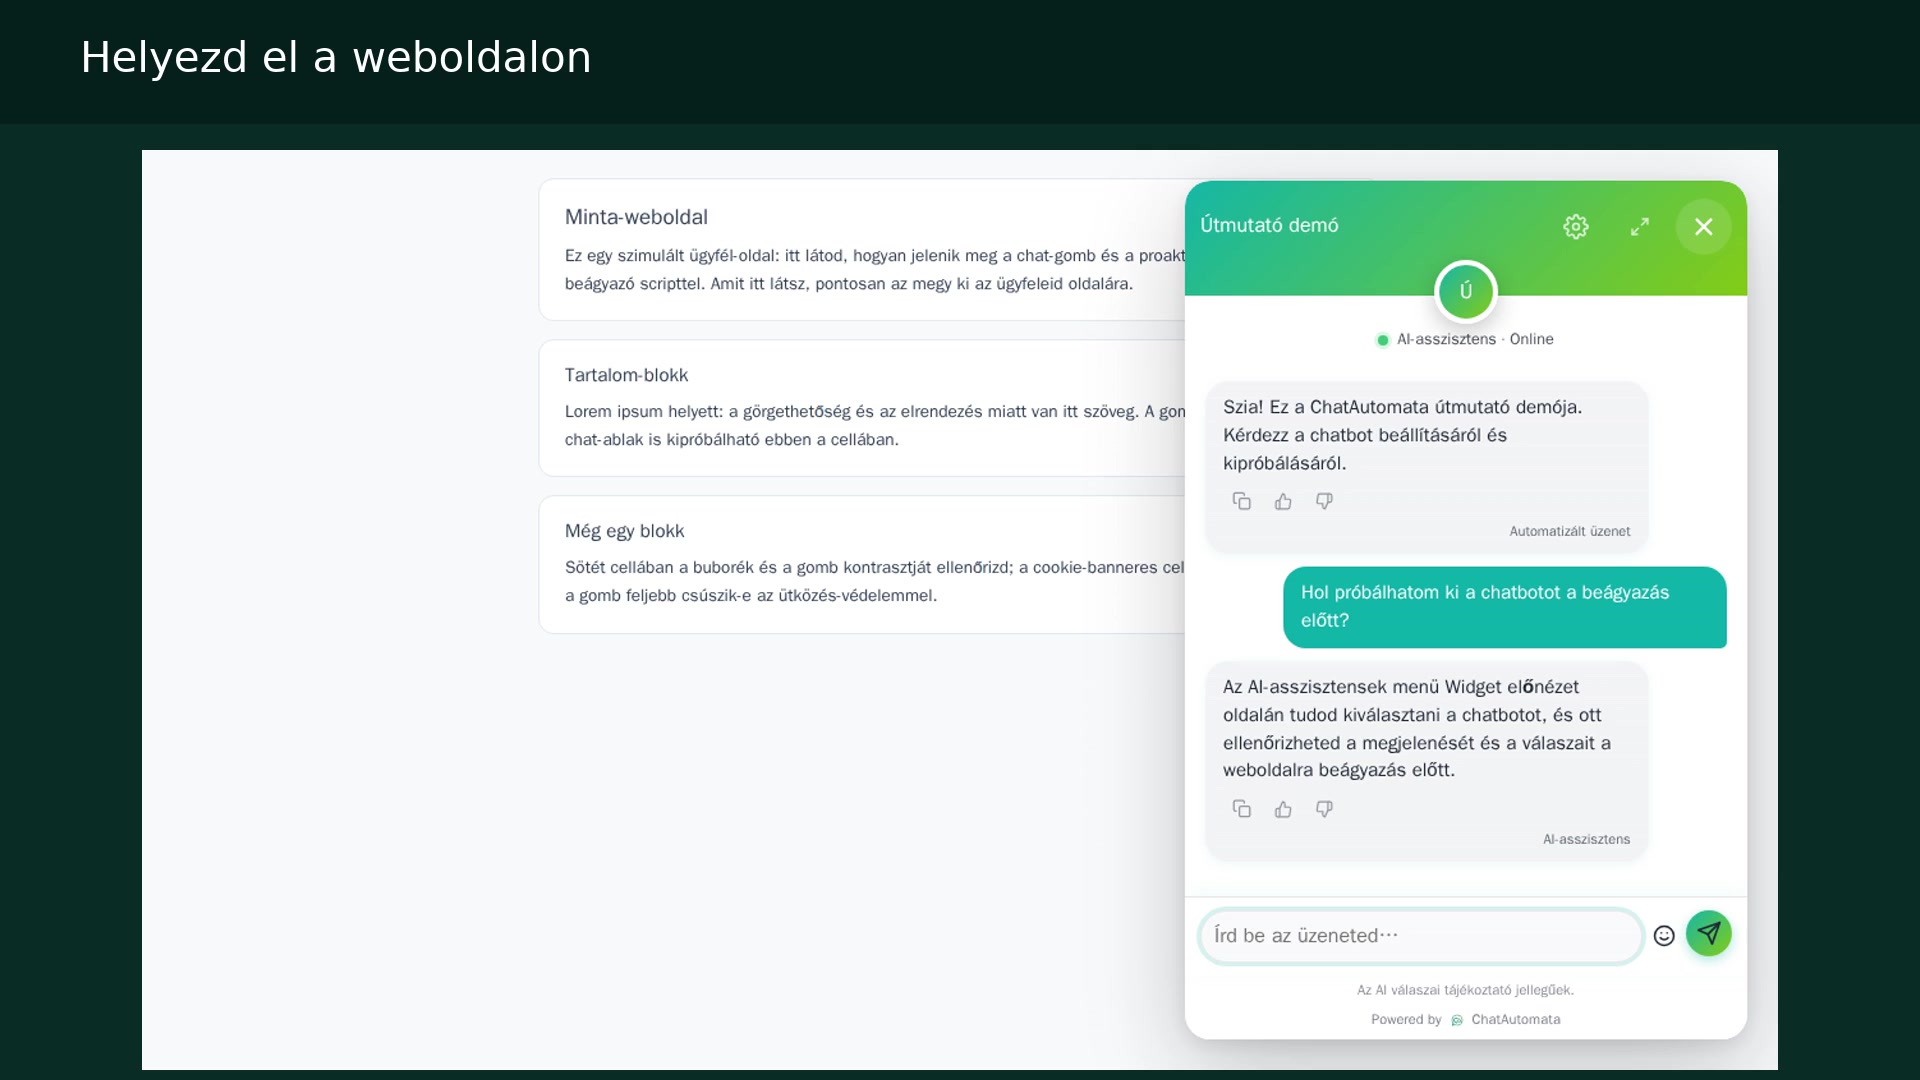
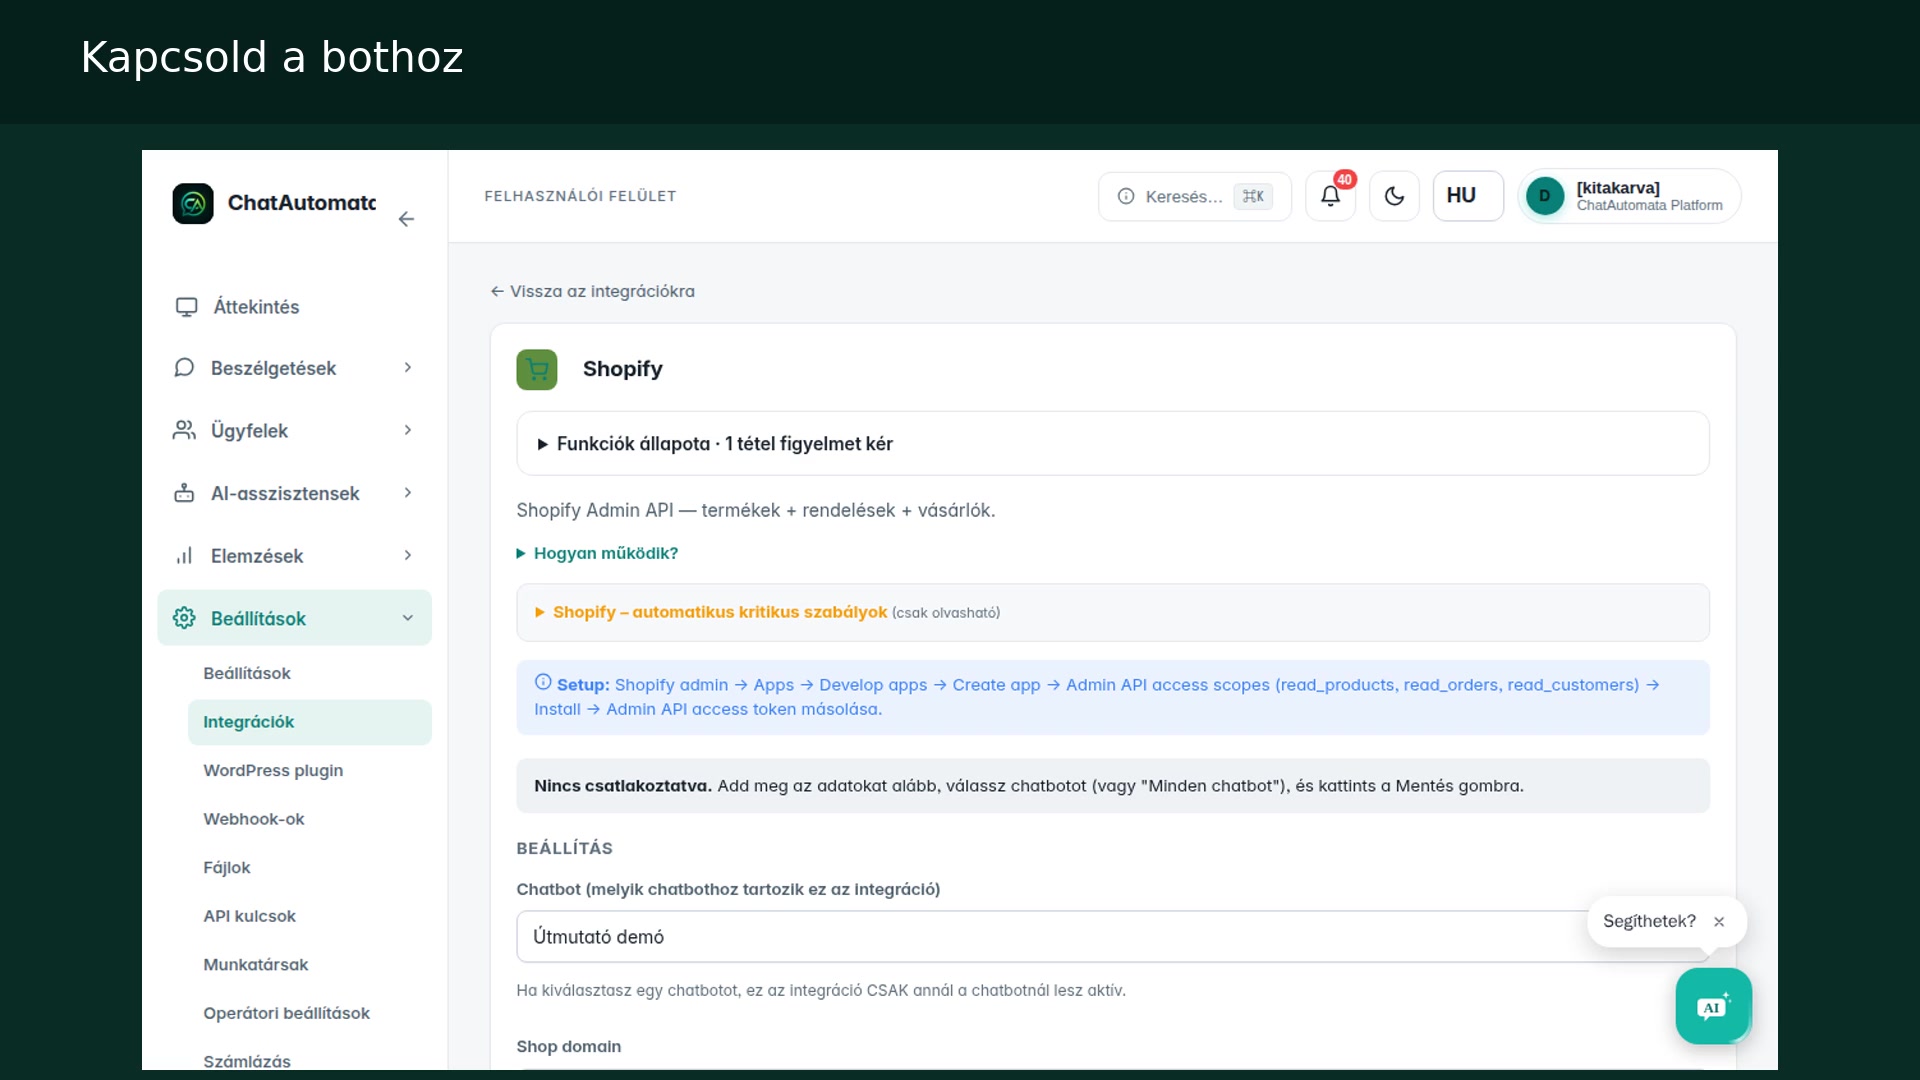
Watch the walkthrough
Hungarian narration · English and Hungarian subtitles
The screenshots show the Hungarian interface in our own demo account. Menu names are translated in the instructions below.
Before you begin
- WooCommerce administrator access, REST API credentials, and a Pro or higher plan for webshop actions.
01Open the integration
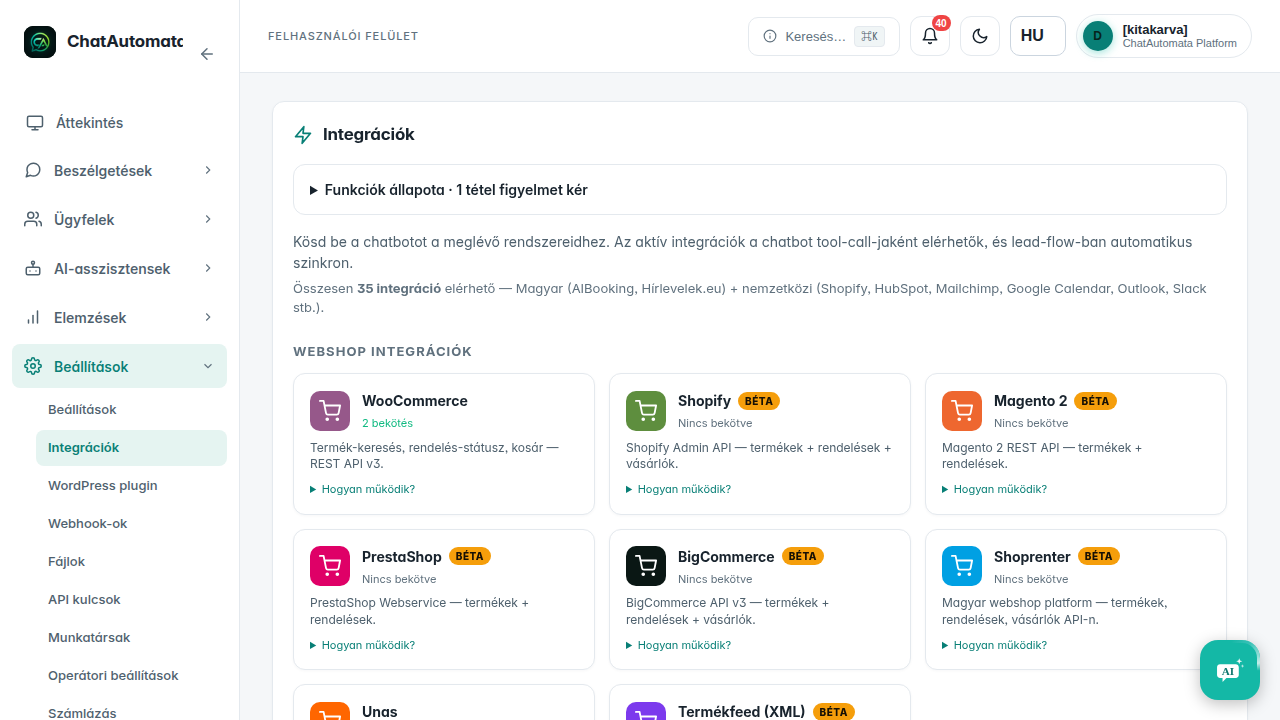
Go to Settings → Integrations → WooCommerce and select New shop.
02Create a REST API key
In WordPress, open WooCommerce → Settings → Advanced → REST API and create a key. Select permissions according to the required functions and the guidance shown.
03Enter connection details
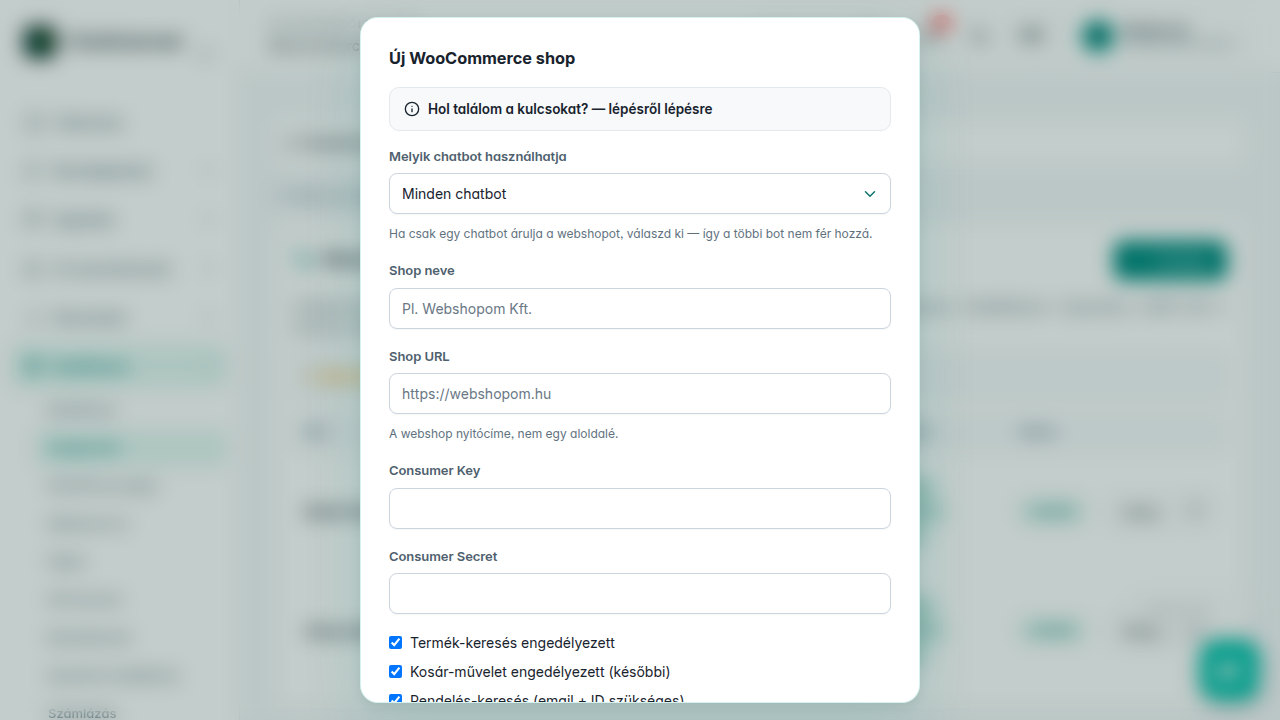
Choose which chatbot may use it; enter the shop name, root URL, Consumer Key and Consumer Secret.
04Choose capabilities
Set the product and order lookup options, then select Save + verify. Check the connection result.
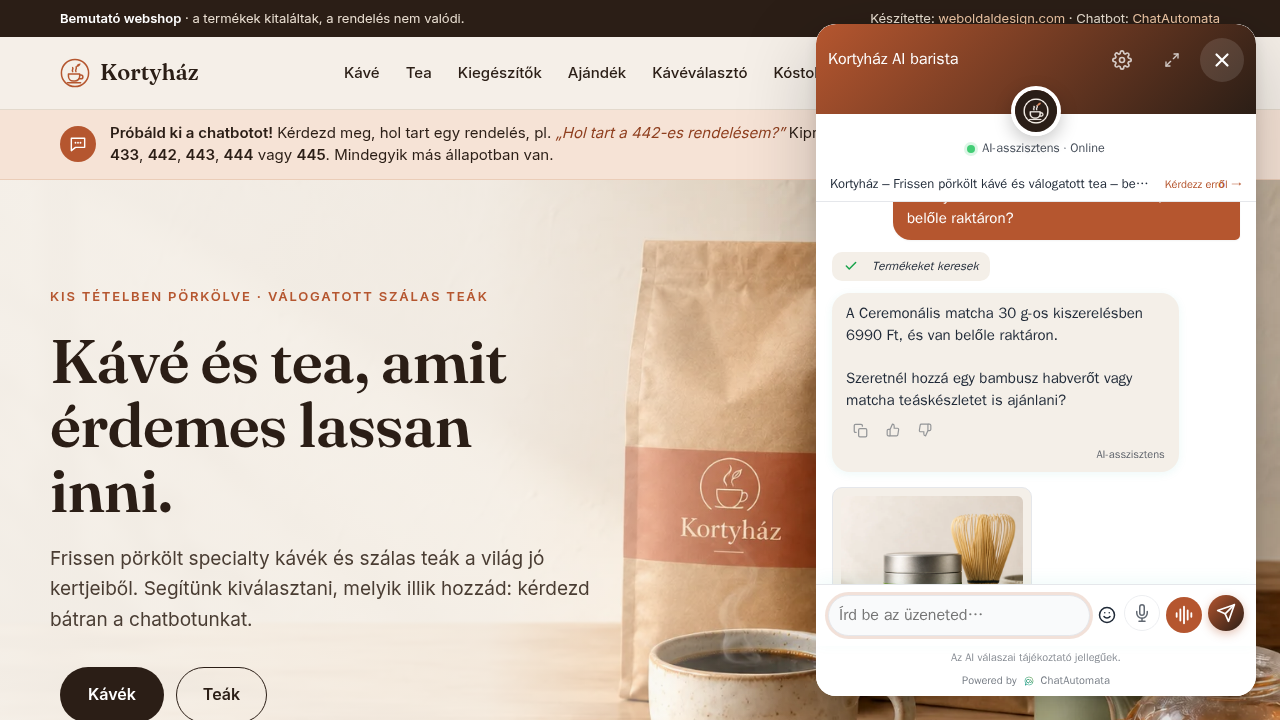
05Try your own data
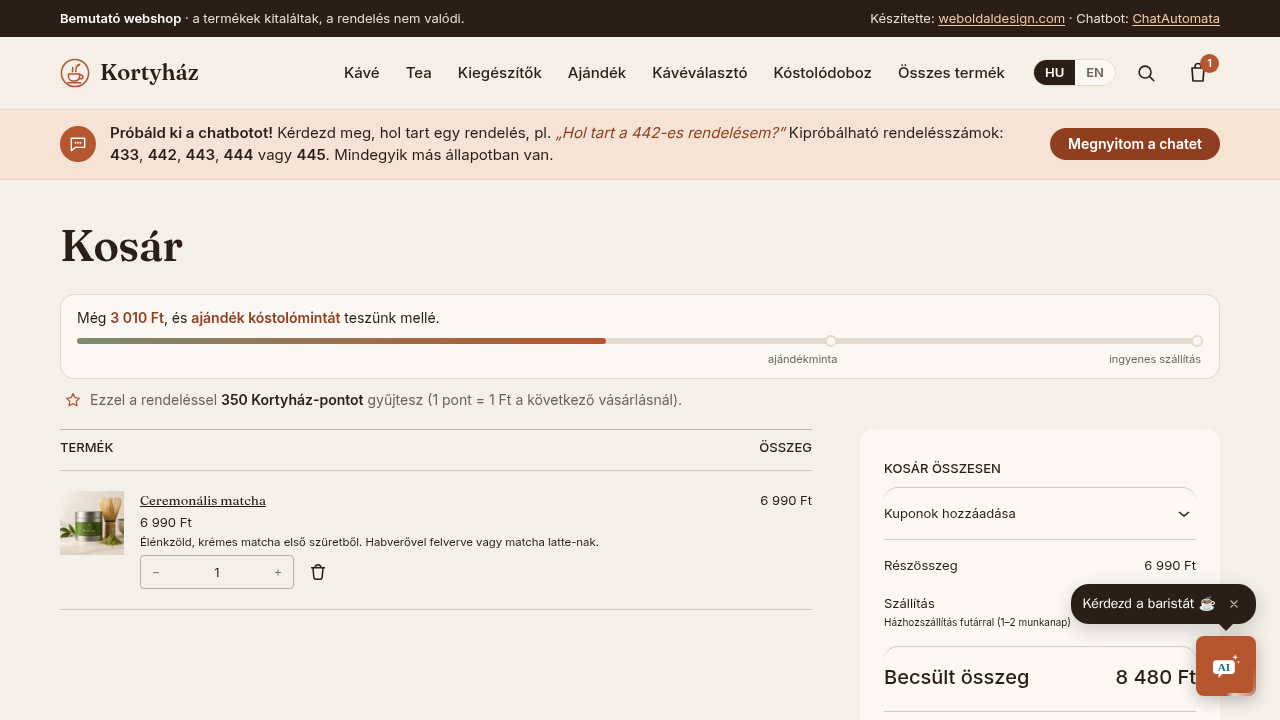
Ask about a demo product’s price and stock; wait for the browser result when adding it to the cart. For order status, provide the verification details configured for the bot; our demo uses an order number and postcode.
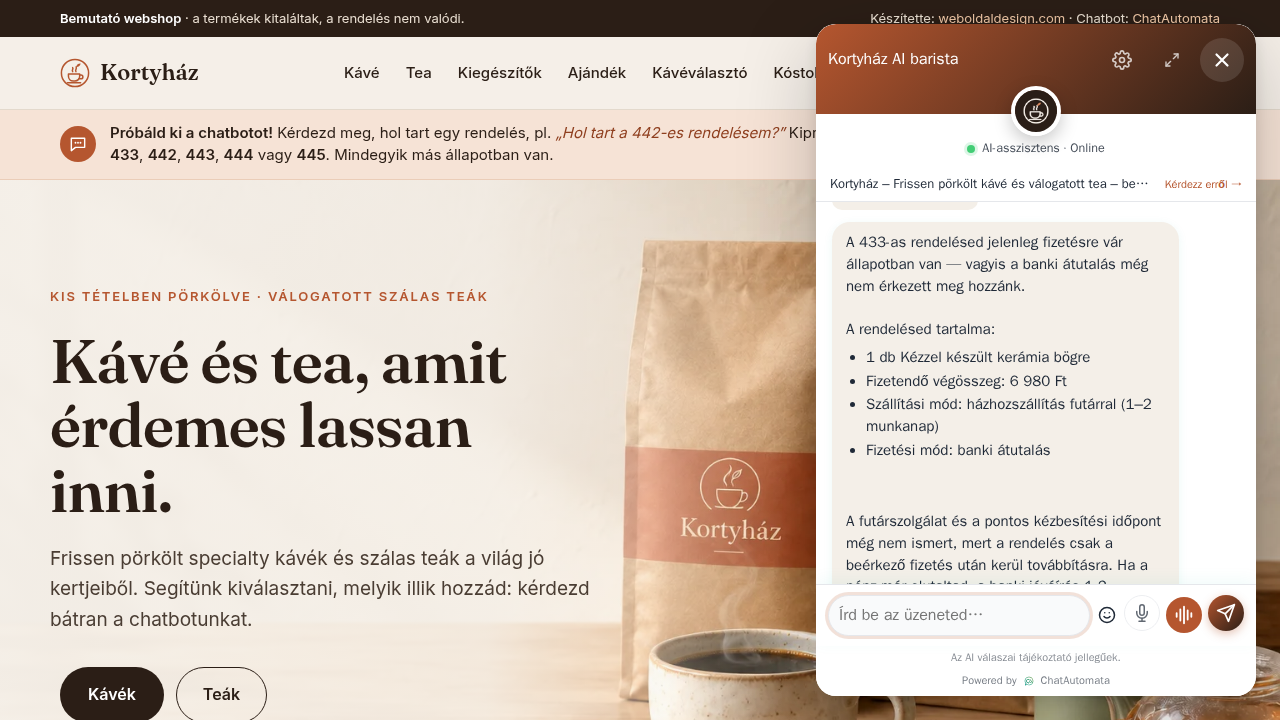
06Look up an order status
In this demo we ask about permanent demo order 433, then provide postcode 4029 when requested. The bot reports an order awaiting payment with a total of HUF 6,980. In your own store, use the configured verification details. We only read the demo order and do not change it.
Check your result
- Verification succeeds.
- Demo product and verified test order match the shop.
Questions & answers
Does the chatbot change orders?
Order lookup reads the order status. Adding a product to the cart is a separate action in the visitor’s browser.
Read the video transcript
Connect WooCommerce.
Open the integration. Go to Settings → Integrations → WooCommerce and select New shop.
Create a REST API key. In WordPress, open WooCommerce → Settings → Advanced → REST API and create a key. Select permissions according to the required functions and the guidance shown.
Enter connection details. Choose which chatbot may use it; enter the shop name, root URL, Consumer Key and Consumer Secret.
Choose capabilities. Set the product and order lookup options, then select Save + verify. Check the connection result.
Try your own data. Ask about a demo product’s price and stock; wait for the browser result when adding it to the cart. For order status, provide the verification details configured for the bot; our demo uses an order number and postcode.
Look up an order status. In this demo we ask about permanent demo order 433, then provide postcode 4029 when requested. The bot reports an order awaiting payment with a total of HUF 6,980. In your own store, use the configured verification details. We only read the demo order and do not change it.